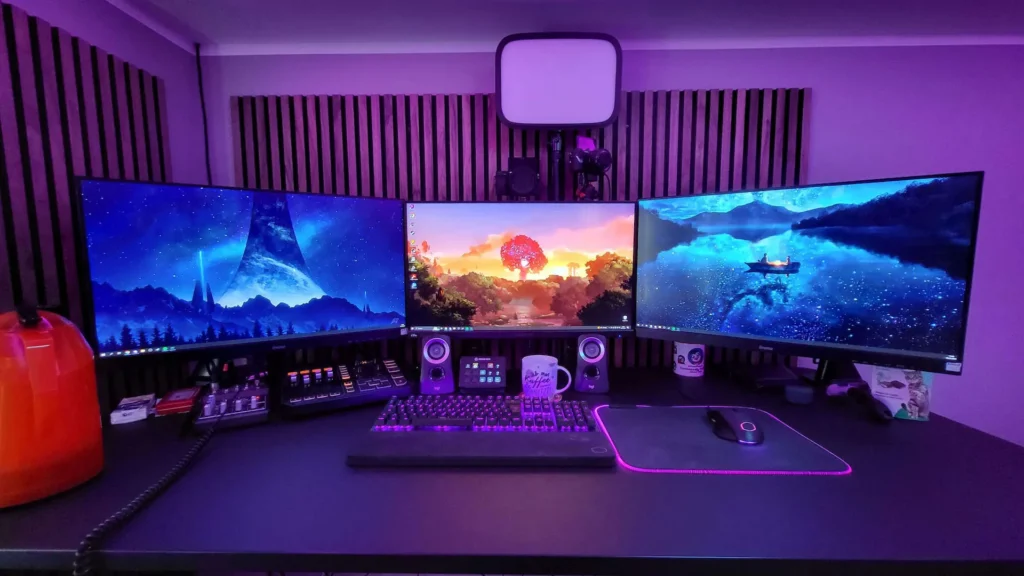
Building a custom PC is a rite of passage for any true tech enthusiast. The process of selecting each component, assembling them into a cohesive system, and seeing it come to life is both exhilarating and empowering. Whether you’re a gamer seeking top-notch performance, a content creator needing a powerhouse for rendering, or simply a tech aficionado wanting the best for your needs, building a custom PC can be immensely rewarding. This guide will walk you through every step of the journey, ensuring your custom build is a triumph.
Table of Contents
- Introduction
- Selecting Your Components
- Central Processing Unit (CPU)
- Motherboard
- Graphics Processing Unit (GPU)
- Memory (RAM)
- Storage
- Power Supply Unit (PSU)
- Case
- Cooling System
- Assembly Process
- Tools You’ll Need
- Preparing Your Workspace
- Step-by-Step Assembly Guide
- Installing the Operating System
- Final Tweaks and Testing
- FAQs
- Conclusion
Introduction
Building a custom PC allows you to tailor your system to your specific needs, whether it’s for gaming, content creation, or general use. This guide will provide you with detailed instructions on selecting components, assembling your PC, and ensuring it runs smoothly.

Selecting Your Components
Central Processing Unit (CPU)
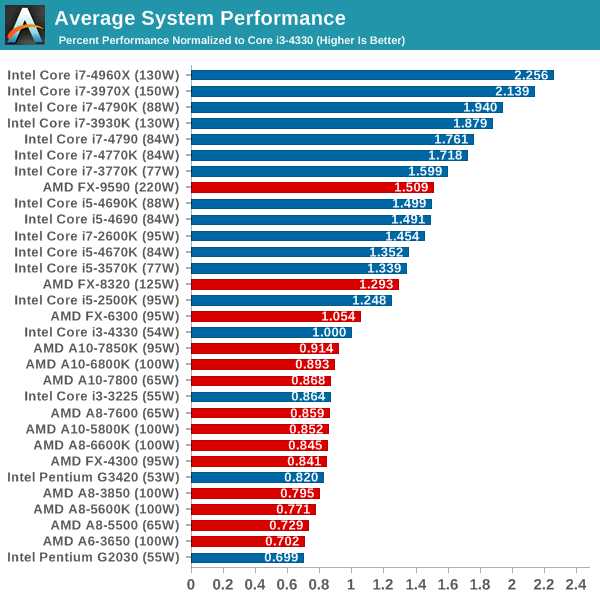
The CPU is the brain of your PC, determining its overall performance. an Intel Core i5 or AMD Ryzen 5 is a great start, while more demanding applications might benefit from an Intel Core i7 or AMD Ryzen 7. When considering the best CPU , you may compare AMD Ryzen vs Intel Core to determine which fits your needs better.
Motherboard
The motherboard is the backbone that connects all components. Ensure it is compatible with your CPU (check the socket type) and has enough slots for RAM, GPUs, and other peripherals. For those looking to build or upgrade, researching motherboard compatibility and the best motherboards 2024 can provide valuable insights.

Graphics Processing Unit (GPU)
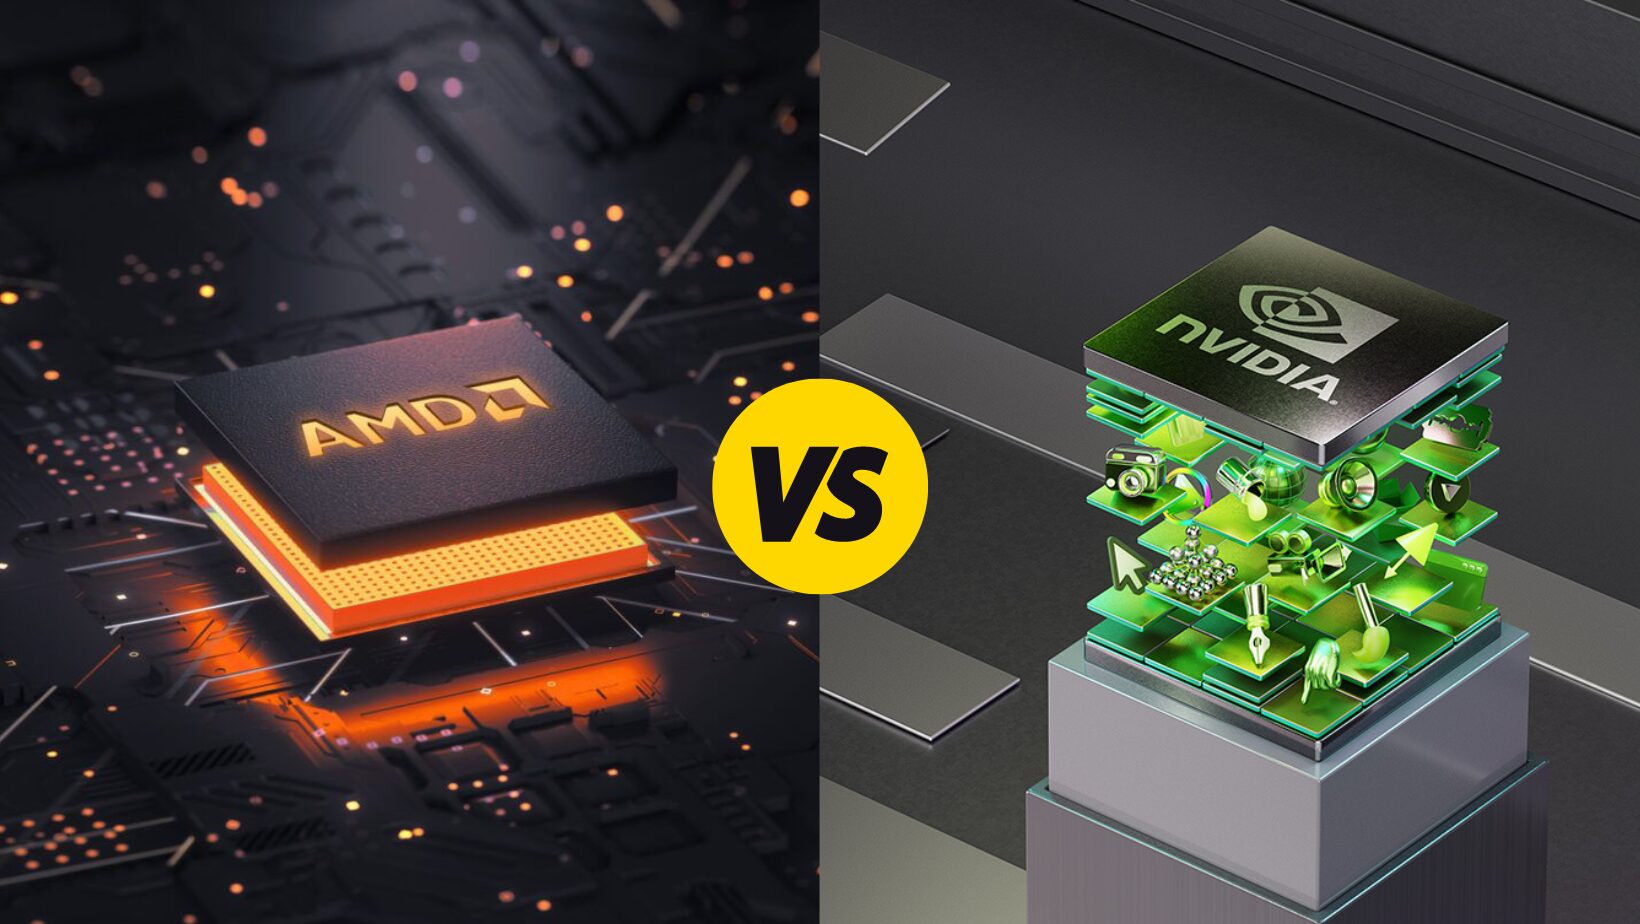
For gamers and content creators, the GPU is crucial. NVIDIA’s RTX series or AMD’s Radeon RX series offer excellent performance. Choose based on your resolution needs and budget. When selecting the best GPU for gaming, it’s helpful to compare NVIDIA vs AMD GPU to find the right fit.
Memory (RAM)
For most users, 16GB of RAM is sufficient, but 32GB or more is ideal for heavy multitasking or video editing. Ensure your motherboard supports the RAM type and speed you select. Understanding the differences between 16GB vs 32GB RAM can help make an informed decision.

Storage
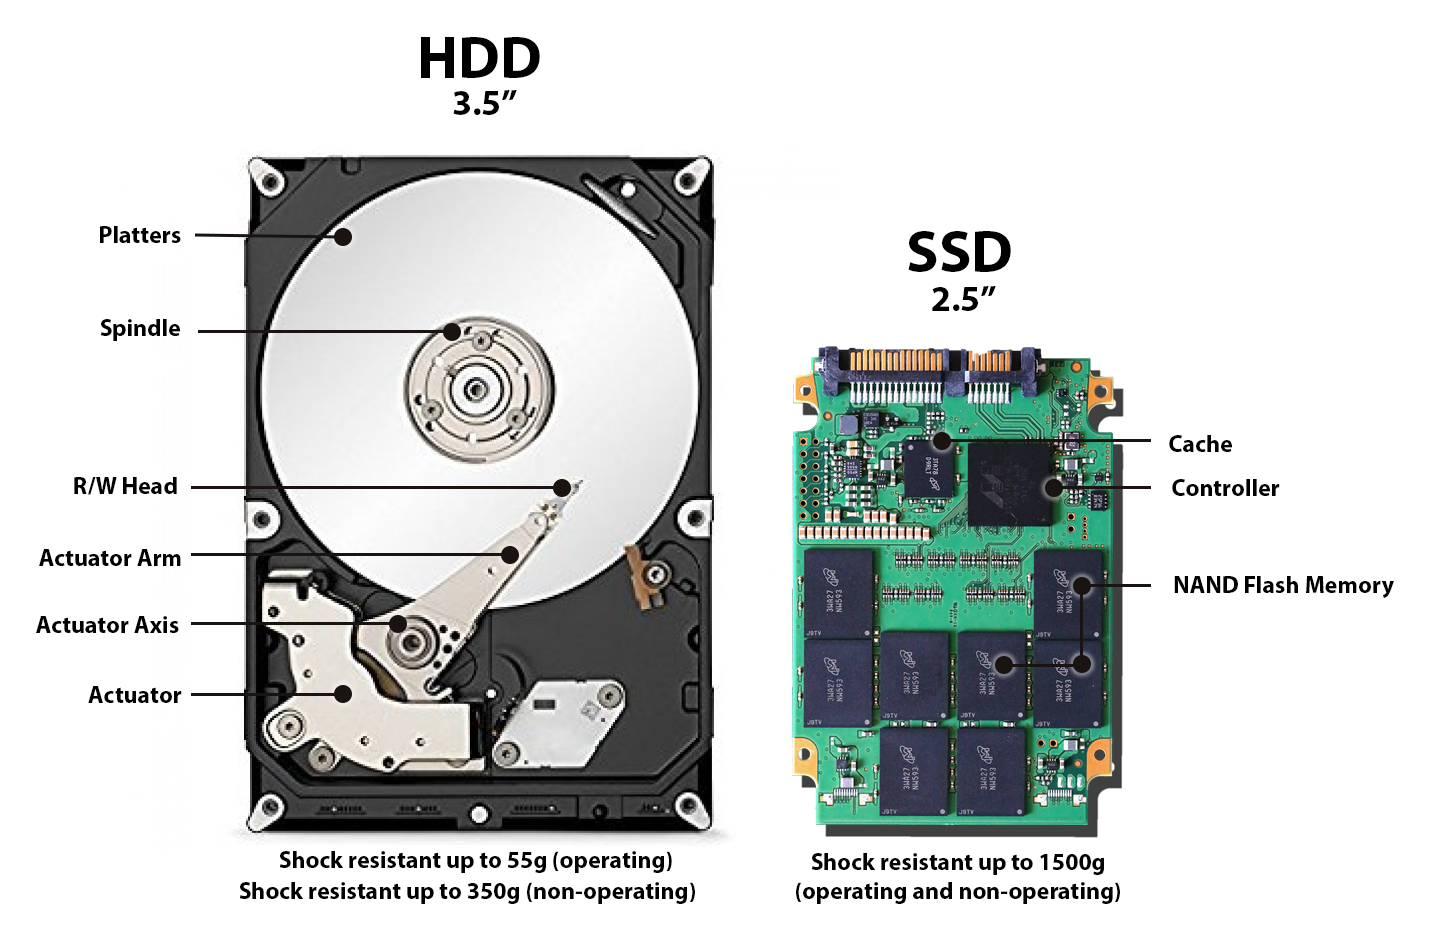
Solid State Drives (SSDs) offer faster boot times and data access than traditional Hard Disk Drives (HDDs). Consider an NVMe SSD for your operating system and applications, and an HDD for additional storage. Comparing SSD vs HDD and finding the best SSD for gaming will guide your storage decisions.
Power Supply Unit (PSU)
A reliable PSU is essential for system stability. Calculate your power needs and choose a PSU with at least 80+ Bronze certification for efficiency. Utilizing a PSU wattage calculator and identifying the best PSU for gaming ensures you have adequate power for your build.

Case
Your case should support your motherboard size (ATX, Micro-ATX, Mini-ITX) and provide good airflow. Aesthetics and additional features like RGB lighting are also worth considering. Looking into the best PC cases and understanding PC case airflow can help in choosing the right one.

Cooling System
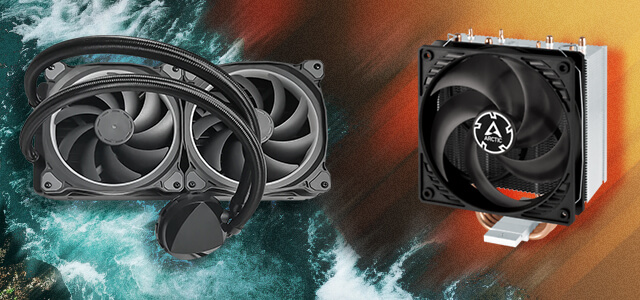
Proper cooling ensures longevity and performance. Stock coolers may suffice for basic builds, but aftermarket air or liquid coolers are recommended for overclocking and high-performance systems. Deciding between air vs liquid cooling and finding the best CPU cooler are crucial for maintaining optimal temperatures.
Assembly Process
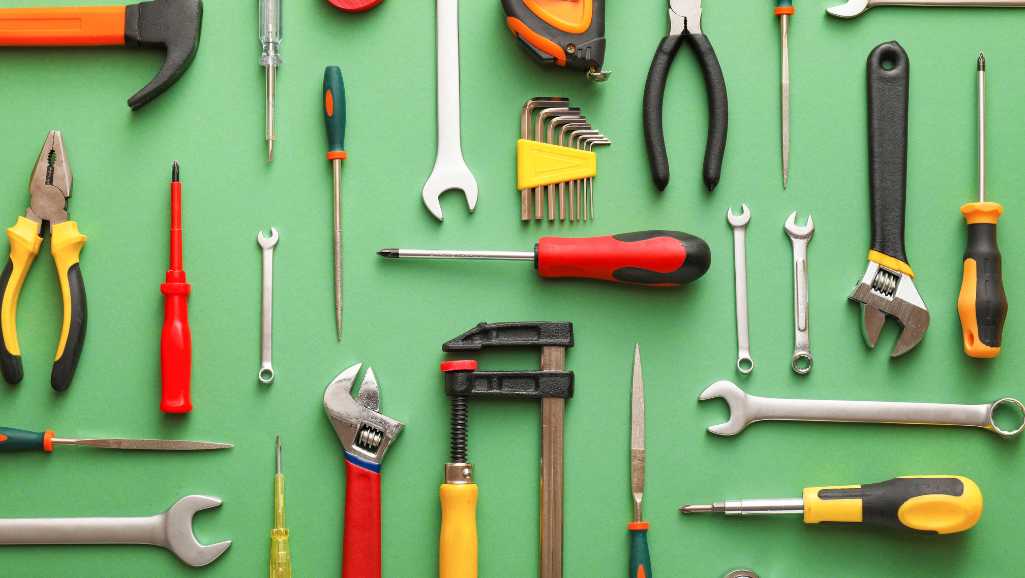
Tools You’ll Need
- Phillips head screwdriver
- Anti-static wrist strap
- Cable ties
- Thermal paste (if not pre-applied)
Preparing Your Workspace
Clear a large, flat workspace free of static electricity. Gather all components and tools before starting to create an ideal PC building workspace that is static-free.

Step-by-Step Assembly Guide
- Install the CPU: Gently place the CPU into the motherboard socket and secure it. Refer to guides on how to install CPU if needed.
- Attach the CPU Cooler: Apply thermal paste if needed and mount the cooler.
- Insert RAM Modules: Snap RAM sticks into the designated slots.
- Mount the Motherboard: Secure the motherboard to the case using standoffs.
- Install the PSU: Place the PSU in its bay and connect power cables.
- Mount Storage Drives: Secure SSDs/HDDs in their respective slots.
- Install the GPU: Insert the GPU into the PCIe slot and secure it.
- Connect Cables: Connect all necessary power and data cables. Good PC cable management ensures a clean and efficient build.
- Power On: Connect your monitor, keyboard, and mouse, and power up the system.

Installing the Operating System
Use a bootable USB drive to install your operating system (usually Windows 10/11). Follow the on-screen instructions to complete the installation. Knowing how to install Windows 11 and using a bootable USB drive simplifies the process.

Final Tweaks and Testing
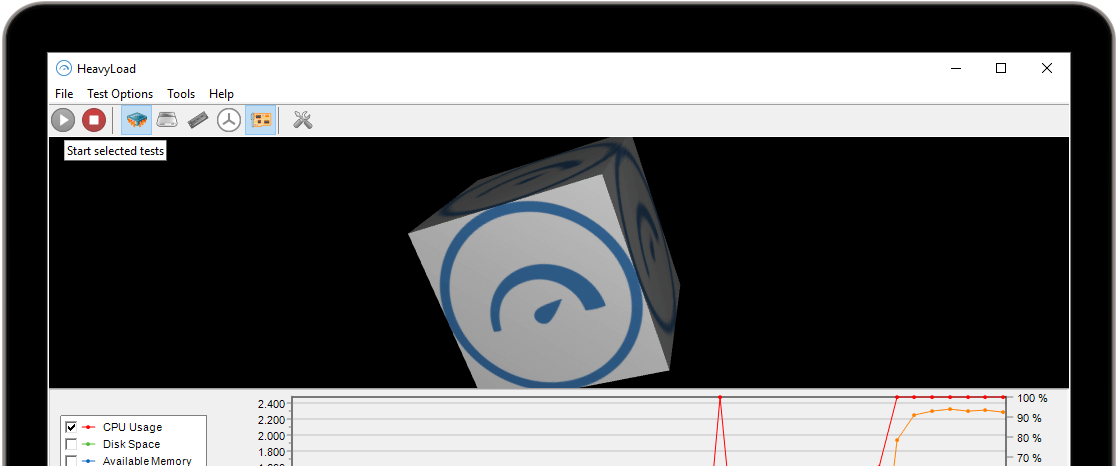
After installation, update your drivers and BIOS. Run stress tests to ensure stability and optimal performance. Adjust fan curves and RGB lighting to your preference. Running PC stress testing and ensuring driver updates are crucial final steps.
FAQs
- Q: How long does it take to build a custom PC?
- A: Depending on your experience, it can take anywhere from 2 to 4 hours.
- Q: Is building a PC cheaper than buying one?
- A: Often, building a PC can be more cost-effective and allows for better customization.
- Q: Do I need an anti-static wrist strap?
- A: While not essential, it’s recommended to prevent static damage to components.
- Q: Can I upgrade my PC later?
- A: Yes, custom PCs are highly upgradeable, allowing you to replace individual components as needed.
Conclusion
Building a custom PC is more than just a task; it’s an adventure in understanding and creating something uniquely yours. Each component selection and every screw turned brings you closer to a powerful, personalized machine. As you power on your newly built PC for the first time, the sense of accomplishment is unparalleled. Not only have you built a computer, but you’ve also acquired a deeper appreciation for the technology that drives our digital world.
Personal Reflection: Building my first custom PC was a transformative experience, deepening my understanding of hardware and fostering a lifelong passion for technology. Every build since has been a blend of science and art, each one a testament to the innovation and creativity in the tech community. Embrace the process, and may your custom PC bring you countless hours of joy and performance.

